

Accessing your own data, or building an app?This page describes how to use the Canopy Connect API to access your own team's data. If you are building a Canopy Connect OAuth App to access other teams' data on their behalf, see Apps Authorization instead.
The Canopy Connect API uses HTTP Basic authentication over HTTPS. Every request is authenticated with an API key — a Client ID (used as the username) and a Client Secret (used as the password). Create a key in the dashboard, then send it on each request in the Authorization header.
Create an API key
1. Open your API settings
Log in to your Canopy Connect dashboard, click Settings in the left sidebar, then select the API tab.
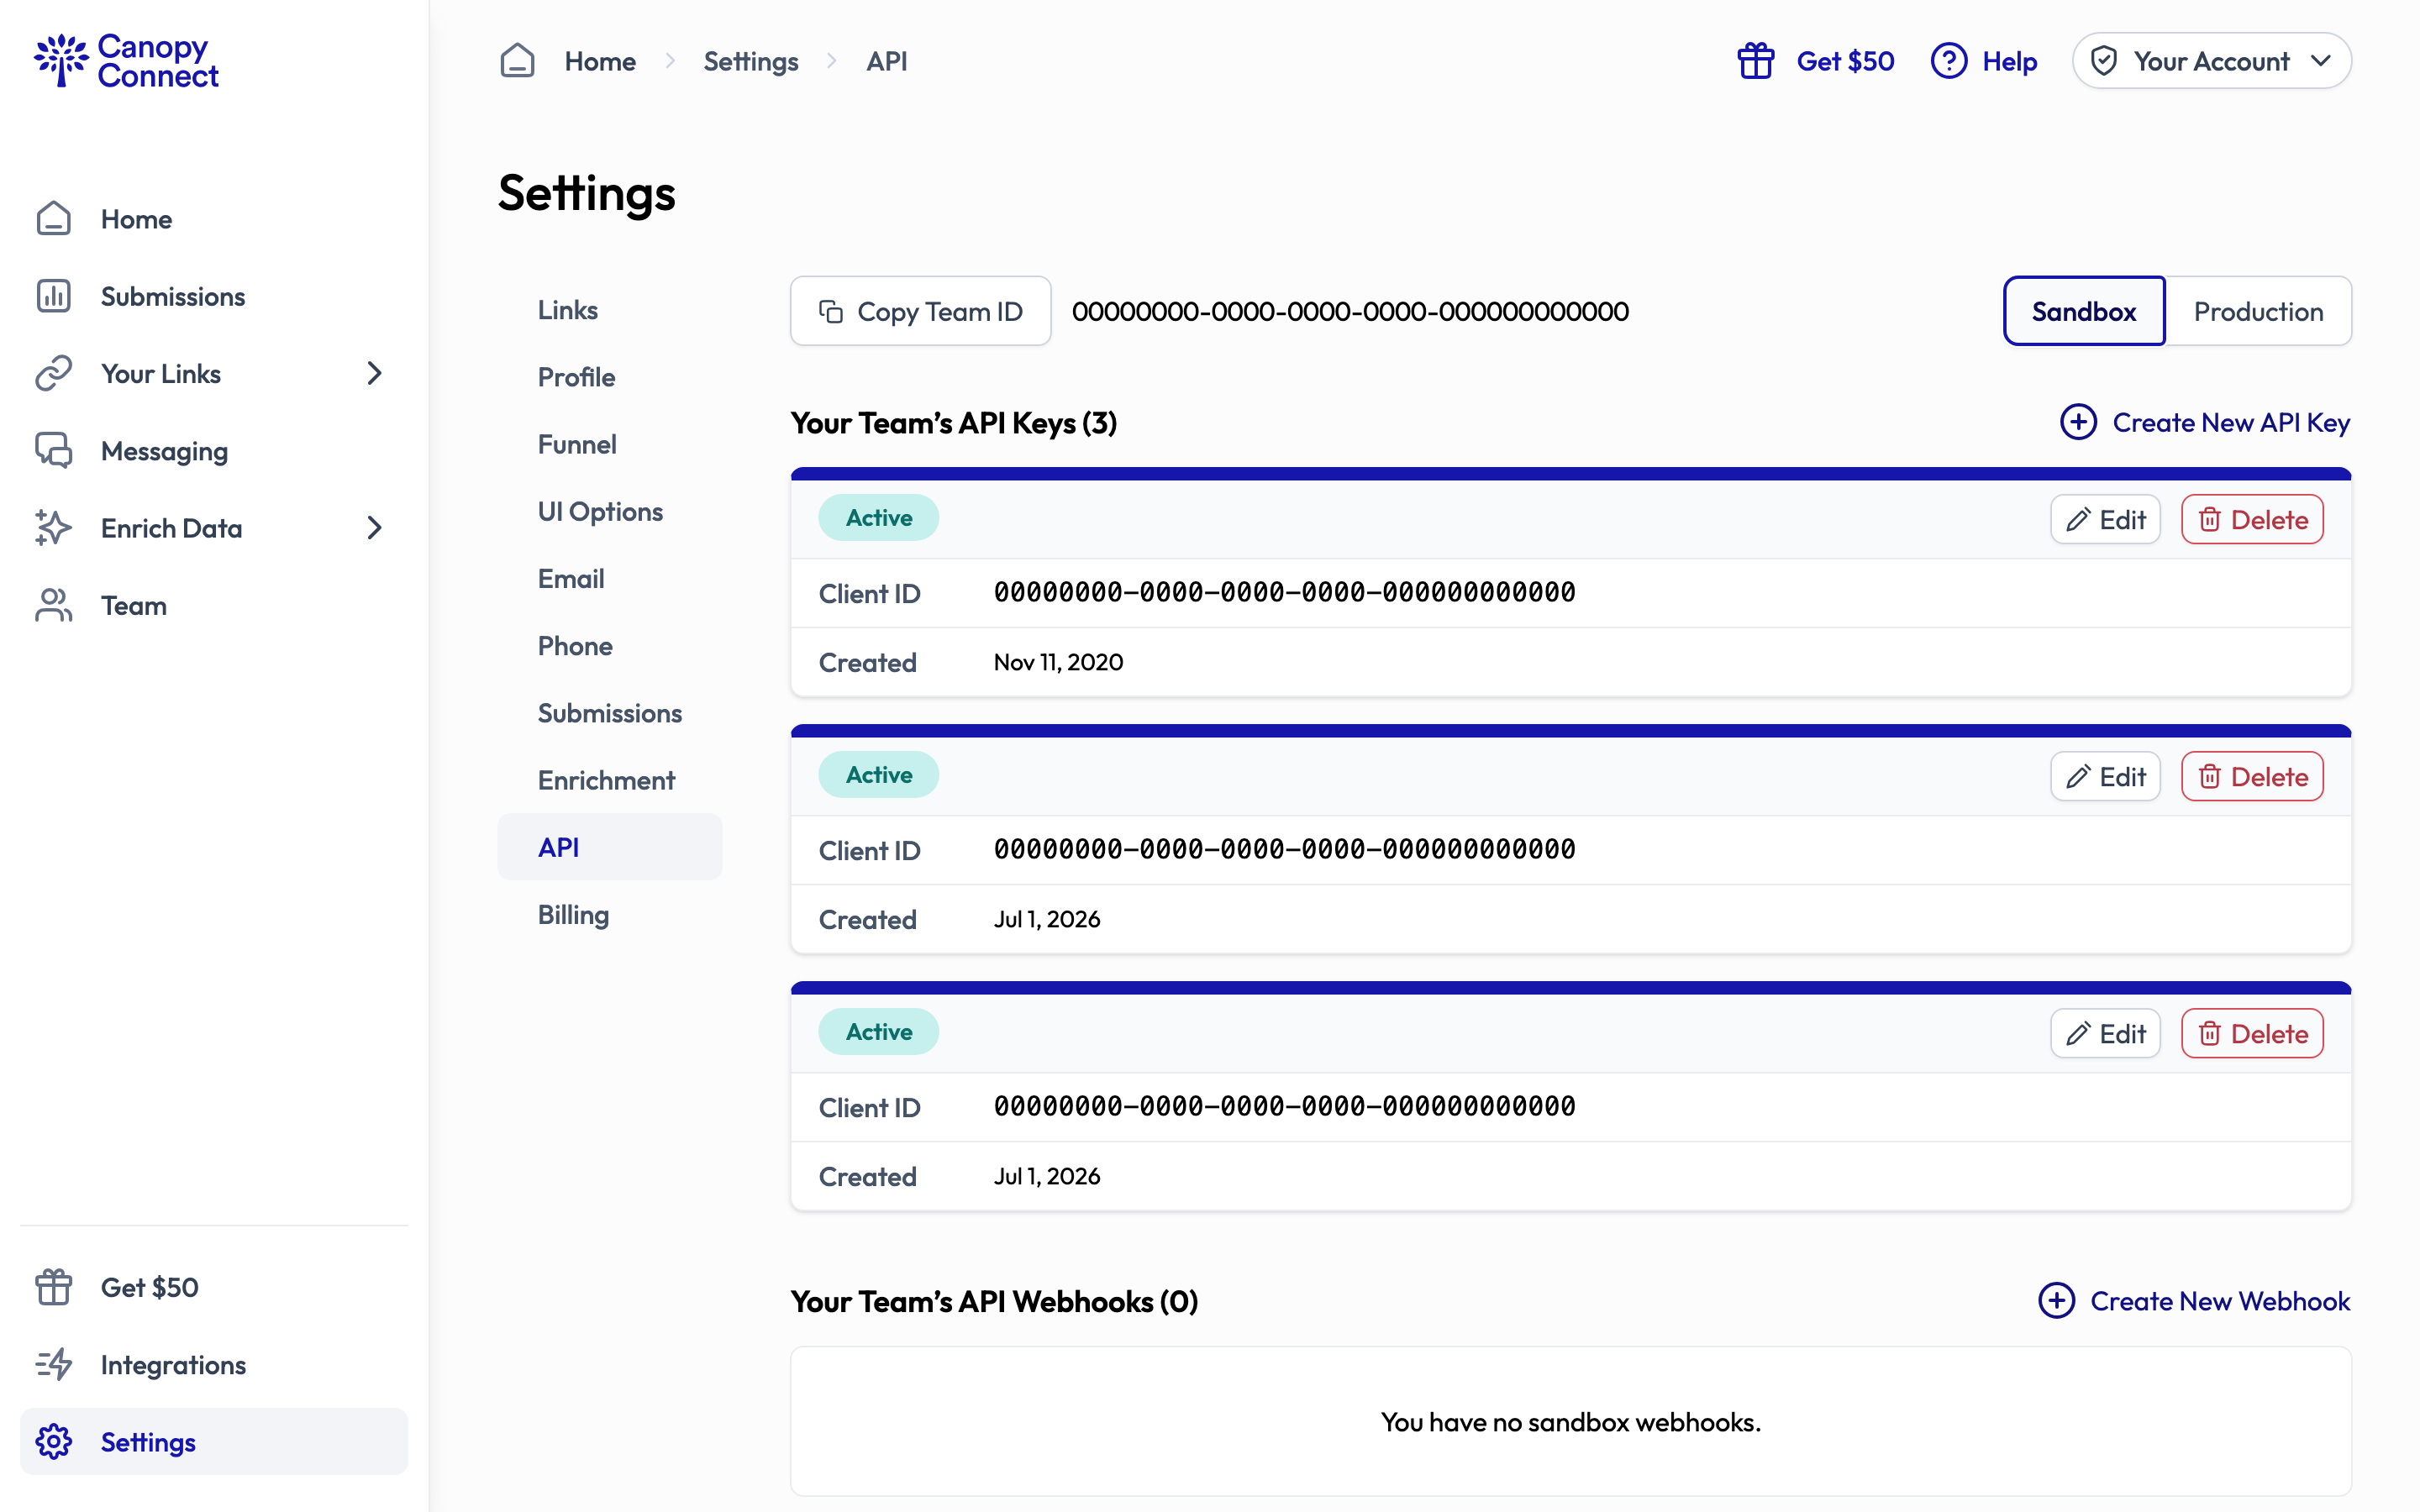
2. Choose Sandbox or Production
Use the toggle at the top right to pick the type of key you want to create.
Production API Key vs Sandbox API KeyProduction API Keys are to be used with a production link and cannot access data submitted on sandbox links. Sandbox API Keys are to be used with a sandbox link and cannot access data submitted on production links.
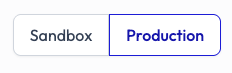
3. Create a new API key
Click Create New API Key.

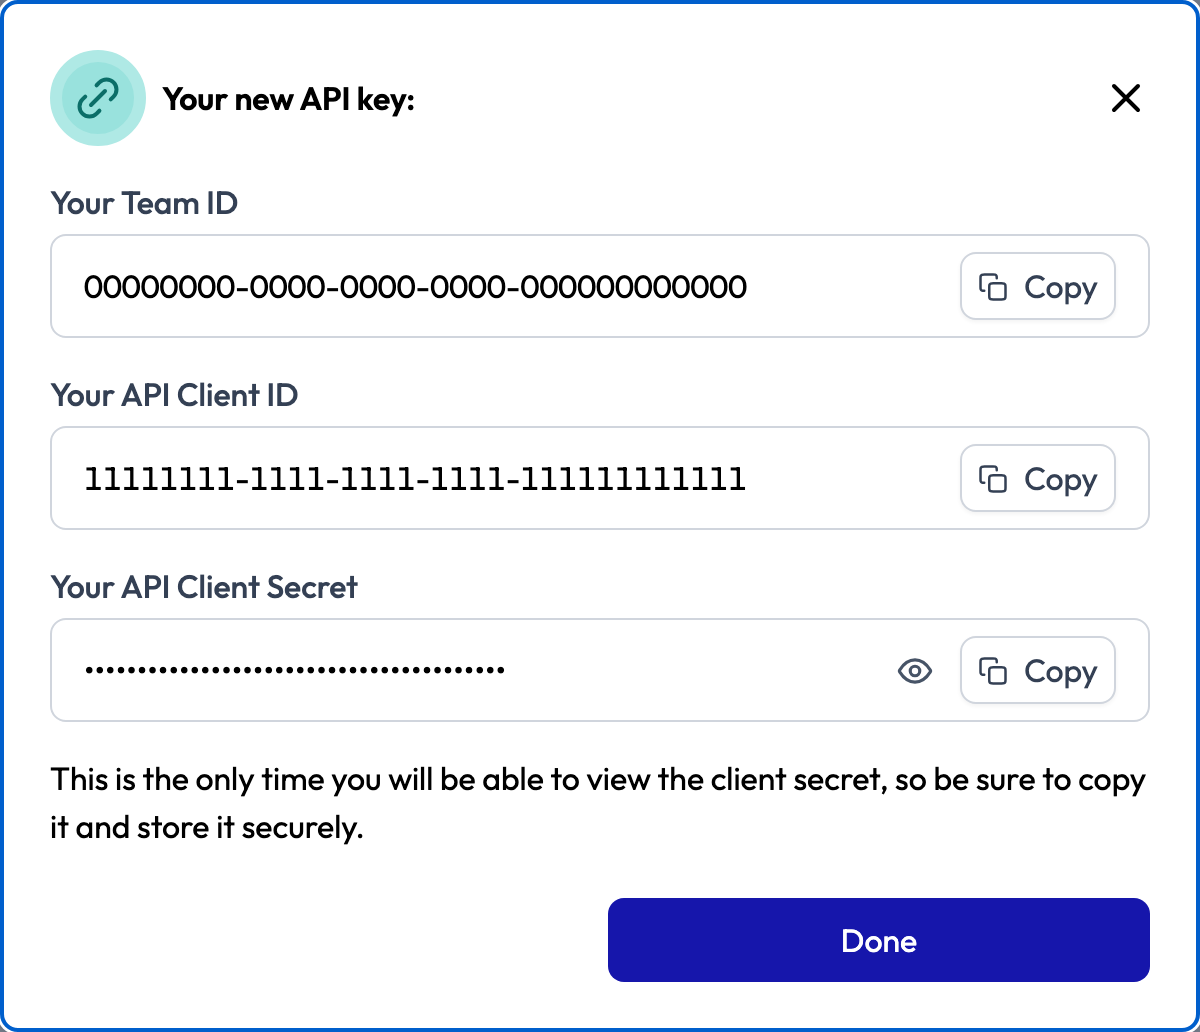
4. Copy your Team ID, Client ID, and Client Secret
A dialog appears with your Team ID, API Client ID, and API Client Secret. You'll use the Client ID and Client Secret to authenticate (as the username and password, respectively). Copy them somewhere safe, then click Done.
The API Client Secret cannot be re-retrievedOnce you close the dialog, you will not be able to see the API Client Secret again. If you lose or forget the API Client Secret you will need to create a new API Key, which will have a different API Client ID.
Authenticate your requests
Your API key maps directly onto the two halves of HTTP Basic auth:
| Basic auth field | Canopy credential |
|---|---|
| Username | Client ID |
| Password | Client Secret |
Send them on every request in the Authorization header:
Authorization: Basic <base64(client_id:client_secret)>
HTTPS requiredAll requests must be made over HTTPS. Requests sent over plain HTTP, or without valid credentials, are rejected. Remember that a Sandbox key only works with sandbox links and a Production key only works with production links.
Base URL
All API endpoints are relative to:
https://app.usecanopy.com/api/v1.0.0Make an authenticated request
Store your credentials as environment variables so they stay out of your code and shell history:
export CANOPY_CLIENT_ID="your_client_id"
export CANOPY_CLIENT_SECRET="your_client_secret"
cURL
curl builds the Basic header for you with -u:
curl https://app.usecanopy.com/api/v1.0.0/pulls \
  -u "$CANOPY_CLIENT_ID:$CANOPY_CLIENT_SECRET"
Node.js
const credentials = Buffer.from(
  `${process.env.CANOPY_CLIENT_ID}:${process.env.CANOPY_CLIENT_SECRET}`,
).toString("base64");

const response = await fetch("https://app.usecanopy.com/api/v1.0.0/pulls", {
  headers: { Authorization: `Basic ${credentials}` },
});
Python
import os
import requests

response = requests.get(
    "https://app.usecanopy.com/api/v1.0.0/pulls",
    auth=(os.environ["CANOPY_CLIENT_ID"], os.environ["CANOPY_CLIENT_SECRET"]),
)
Building the header manually
If your HTTP client has no built-in Basic-auth helper, construct the header value yourself. Join the Client ID and Client Secret with a single colon (:), then base64-encode the result:
echo -n "$CANOPY_CLIENT_ID:$CANOPY_CLIENT_SECRET" | base64Send the encoded string in the header:
Authorization: Basic <the base64 string from above>
Encodeclient_id:client_secretexactlyThe colon is the separator between username and password — don't URL-encode it, and don't add spaces. The
-nflag above matters too: it keeps a trailing newline out of the encoded credential.
If authentication fails
| Status | Meaning |
|---|---|
401 Unauthorized | Missing, malformed, or invalid credentials. Confirm the header is Authorization: Basic ..., that you used the Client ID as the username and Client Secret as the password, and that the key is still active. |
Keep your Client Secret privateTreat the Client Secret like a password. Never commit it to source control, embed it in a browser or mobile app, or expose it in any client-side code — use it only from your own server. If it is ever leaked, create a new API key to rotate it.